In this post, I will show you how to use Yoast to boost SEO. As many of you may already know, Yoast is a great tool to help boost the SEO of any WordPress website. But for those that don’t know what Yoast is or how to use it, this short and easy to follow guide will show you all of the basics you need to know. If you have any recommendations to add to the list, then please put them in the comments below.
How To Install Yoast SEO
First of all, you will actually need to install the WordPress SEO by Yoast Plugin, from the plugins section in the back end of your website. Follow the images below for a clearer understanding;
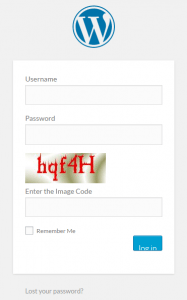
First, login to the back end of your website – for many WP websites, to login you have to add /wp-admin to the end of your URL. Then, once you have reached that page you will be greeted with something like this, simply enter your username and password and press the login button.
Hooray, you’ve logged in! Now you will see to the left of your screen a menu with different options. Scroll down until you see the Plugin button, I have highlighted what to look for in blue below;
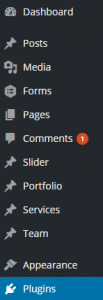
Once you have identified the Plugin button, simply click it.
You will then see a button at the top of the page called “Add New” Click on this to add new plugins to your website.
![]()
Once you have clicked ‘add new’, you will be taken to a new page where you can search for any plugin available. To install Yoast you need to search “wordpress seo”

Now that you have carried out the search, you will then see the plugin called “WordPress SEO by Yoast”.
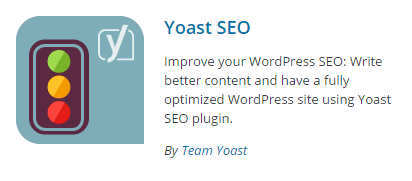
Next – yep you guessed it – simply hit install now.
![]()
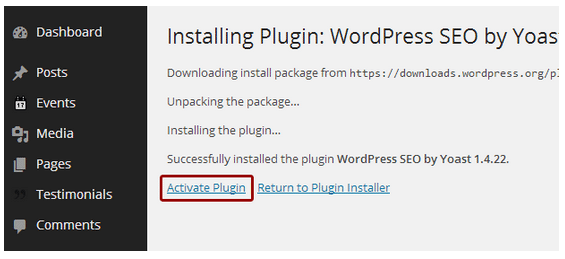
Now that the plugin by Yoast has been installed, all you have to do is activate the plugin and then you’re setup up to use Yoast.
Optimising Your Website With Yoast SEO
Now that you’re all setup and ready to use Yoast, you can now begin to optimise the pages of your website more easily and efficiently. Let’s begin.
Optimising the pages of your website is extremely important if you want to be found on search engines, so firstly open up your list of pages, select the one you wish to change, and then press edit.
After you have entered all of the content onto the page, created a name for your page or post and selected what you want the URL to be, scroll down to the bottom of the page and you will see the Yoast SEO section. There are 5 main things to look at under the Yoast SEO section, and these include;
Snippet Preview – What your post might/should look like in Google’s search results.
SEO Title – This is what you use to give your page/post a page title. It will be the first thing potential clients see on Search engines such as Google.
Slug – The “slug” is the URL of the page or post.
Meta Description – This is what comes beneath the page title and URL in the SERP.
Focus Keyword – Pick the main keyword or key phrase that your post/page is about.
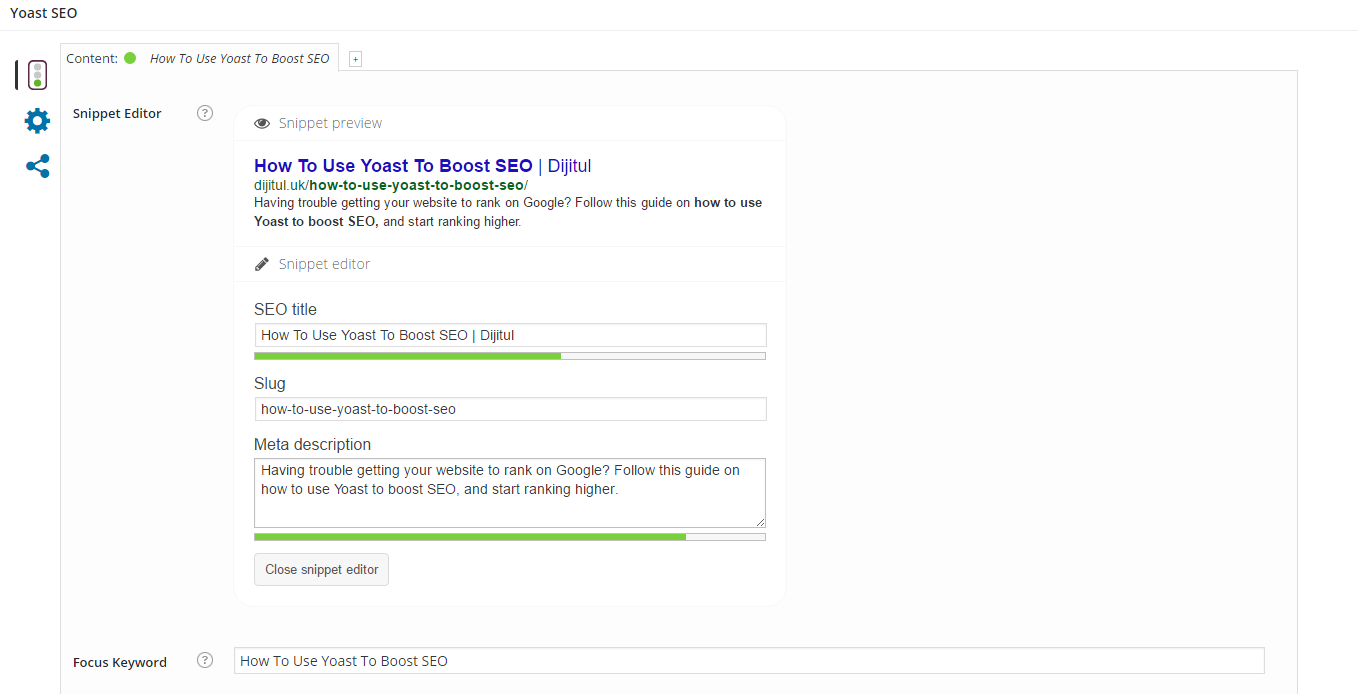
Once you have filled all of these out accordingly, you can either publish or save a draft of the post and you can see what score Yoast gives you. For example;
Red – Your on page SEO is bad and desperately needs attention.
Orange – Your on page SEO is okay and you may want to improve it, but only if it doesn’t hurt your overall post.
Green – Your on page SEO is good, and can’t get much better!
To improve your on page SEO, simply scroll down on Yoast SEO section of the page you’re on, and you will see Yoast’s ‘Content Analysis’. Yoast’s ‘Content Analysis’ section will give you tips on how you can improve your on-page content and give you a better chance of ranking highly.

Now you have learnt how to install Yoast and how to use it, you can now begin to create good SEO on site pages and blog posts. Remember, having good quality on site pages and blog posts won’t be enough to take you straight to the top of rankings, unfortunately. To achieve this you need to build a strong digital marketing strategy for your business. It is worth remembering this is just a basic guide, and there is much more you can do with Yoast.
I hope you have enjoyed this post, and have learnt something from it. Comments are welcome below, and by all means share the post with your friends, colleagues, and so on.
Leave a Reply